
Category: Trail Recipes

  • Trail Recipe Series: Sephardic Trail Recipes

    Trail Recipe Series: Sephardic Trail Recipes

    In this piece, we share a couple of Sephardic recipes conducive to backcountry cooking. Common ingredients include chickpeas, ground lamb or beef, dried and fresh fruits, stuffed vegetables, and a wide array of flavorful spices.

    Just like the cuisine of Jews from Eastern Europe, Sephardic cooking includes slow-cook Shabbos recipes.

    I personally favor Sephardic to Ashkenazi cooking. Many who enjoy the broader range of flavors and ingredients feel this way. My middle daughter, who is descended from Iberian Crypto-Jews in addition to my Ashkenazi heritage, compelled us to broaden our horizons.

    For wilderness travel, we have some very exciting offerings.

    Shakshouka comes in many different forms. Tunisian Jews introduced the spicy egg variation to Israel after the mass exodus of Jews from Arab lands.

    Moroccan Jews have a variety of variations on paprika-sauced fish, and we have one that you can either use salmon (for an Ashkenazi twist) or wild-caught white fish.

    Shakshouka

    Prep & Cook: 20m
    Serves: 2
    Parve or Dairy Options

    Ingredients:
    1 tbsp olive oil
    1 red bell pepper
    1 banana or poblano pepper
    1 small onion
    3 cloves garlic
    2 tsp paprika
    1 tsp cumin
    12 oz can of tomatoes, diced
    2 eggs (or egg substitute equivalent)
    salt and pepper to taste

    1. Seed and slice your peppers.
    2. Dice your onions, mince your garlic.
    3. Heat oil over medium heat. Once hot, add peppers and onions, stir them to coat in oil, and cook for another 5 minutes (or browning). Add garlic and spices and cook until you can smell it, likely under a minute.
    4. Add tomatoes—do not drain can! Simmer for around ten minutes.
    5. Crack the eggs into the sauce, trying to keep them apart. Cover them with the mixture and cook until the whites solidify and the yoke is as consistent as you like. Try and perpetually cover the eggs with the sauce as you cook.
    6. Season to taste. Some folks like to pack feta or other cheese to top.

    KB’s Paprika Fish
    Prep & Cook: 25m
    Serves: 2
    Parve

    Ingredients:
    2 fillets of white fish, wild caught or packaged
    2 tbsp dried cilantro
    1 red bell pepper
    1-2 large garlic cloves
    1 dried red chili pepper
    Pinch tumeric
    1/2 cup water
    1 tbsp olive oil
    1/2 tbsp paprika
    salt and pepper

    Prior to cooking, you’ll want to seed and slice your bell pepper. Chop your garlic in big chunks.

    1. Place peppers and cilantro at bottom of a skillet, preferably as large a one as your pack allows.
    2. Put your fillets on top of those ingredients, and then season with salt/pepper and your pinch of tumeric.
    3. Add some of your water to the pan, cover it, and start your stove on high – bring to a quick boil, then immediately reduce to medium. Uncover your pan. Lightly simmer and baste your fish occasionally.
    4. Mix your olive oil and paprika together, and pour this red oil over your fish, trying to get them coated. Let it simmer for 10-15 minutes longer, basting again. Once the fish is red, and your water has reduced, it’s mostly good to go.

    Additional Recipes

    Do you have additional Sephardic recipes you’d like to share, especially ones you’ve made on the trail? Please comment below, or send them to us at mailadmin@kosherbackpacker.com.

    We highly suggest you try your hand at making some of the delicious Sephardic deserts, which work well with little honey packets.
  • Trail Recipe Series: Ashkenazi Favorites

    Trail Recipe Series: Ashkenazi Favorites

    I’ve said it before, I’ll say it again…trail cooking is not my forte.

    It’s a game I’m committed to improving, for the sake of enhancing the experience for my children when I manage to fool them into venturing forth to the wild places.

    Here are some recipes I’ve been experimenting with lately. In this series, we’re going to cover easy camp stove variations on categories of Jewish cooking. Since I’m Ashkenazi, we’re going to lead off with the recipes I’m most familiar with.

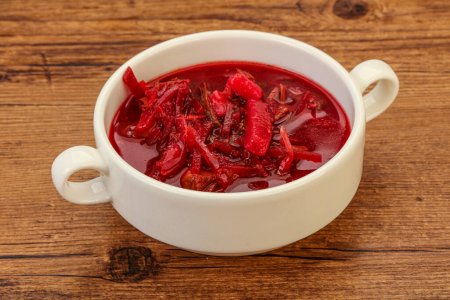
    Trail Borscht

    Who among us Ashkenazi doesn’t love borscht? Though likely invented by Ukrainians, our time in the Pale of Settlement herded this sour soup into the pantheon of Jewish foods.

    Many of us attach strong emotions to this food. In a phenomenally challenging episode of the show, “Blackish”, the main character is upbraiding white dinner companions about soul food, and one of the characters softly shares that they serve beets for a similar reason. Our foods are the foods of beleaguered peoples. Stirring a small pot of borscht on a camp stove, for me, connects me with Jewish partisans living in the forests of Nazi-occupied Eastern Europe. A simple pot of food becomes a reminder that our plenary amusements vis a vis venturing into the woods, was once, for our people, a stark choice for survival.

    Prep & Cook: 15m
    Serves: 1
    Parve, Meat, or Dairy Options
    Borscht!

    2 tablespoons dehydrated beets
    2 tablespoons dehydrated beef (optional, I add another 2T beets)
    1 tablespoon beet powder
    1 tablespoon mashed potatoes (I use these, they’re parve)
    1 teaspoon onion powder
    1 teaspoon chicken consomme (I use Osem brand)

    In your home, mix all of the ingredients in a sealable bag.

    On the trail, mix with 1 cup of water. Boil for 5 minutes, and let stand for 5 minutes.

    For shorter trips, you can also bring some sour cream and omit the beef. For pescatarians/vegetarians this is the best option. Omit beef and sour cream for a fully vegan recipe.

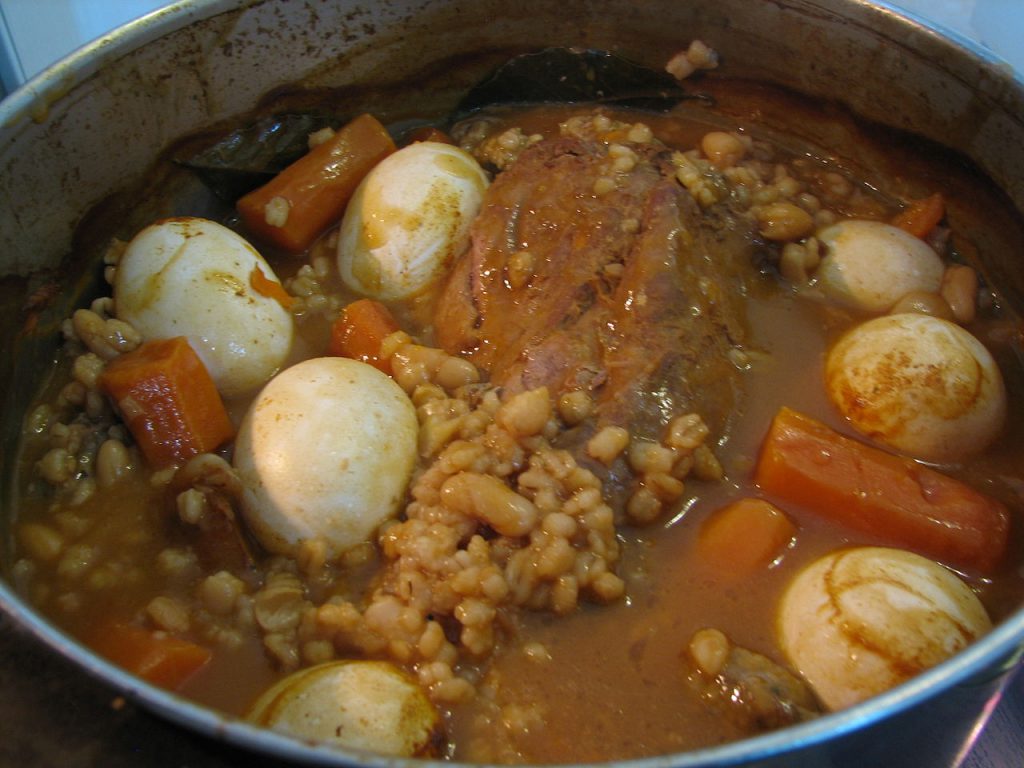
    Trail Cholent

    Cholent may be my least favorite food to cook on the trail, for the primary reason that it’s a long-cook recipe. For those of you that want cholent without the work, here you go.

    There is a corresponding Sephardi dish, lest anyone think we are “Ashkenormative” here at the Kosher Backpacker.

    From Wikipedia:

    Ashkenazi-style cholent was first mentioned in 1180, in the writings of Rabbi Yitzhak of Vienna. In the shtetls of Europe, religious neighborhoods in Jerusalem and other cities in Israel before the advent of electricity and cooking gas, a pot with the assembled but uncooked ingredients was brought to the local baker before sunset on Fridays. The baker would put the pot with the cholent mixture in his oven, which was always kept fired, and families would come by to pick up their cooked cholent on Saturday mornings. … The unique cooking requirements of cholent were the inspiration for the invention of the slow cooker.

    We need this to be a fast cooker recipe, however, so let’s get to it.

    Prep & Cook: 1hr+
    Serves: 1
    Parve or Meat
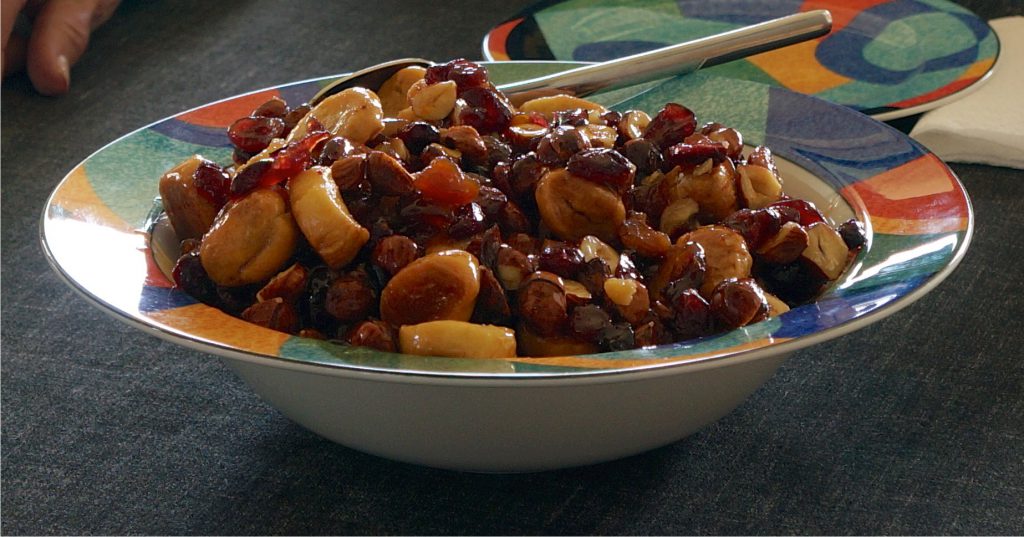
    Gilabrand / CC BY-SA (https://creativecommons.org/licenses/by-sa/3.0)

    Note: You’ll want to vary portions up depending on the number of folks you’re feeding. Backpacking is a solo-effort for me, usually, so these portions reflect this. Practice it at home first. I’ll be honest, it’s only an approximation of cholent, but it’s close enough when you’re on the trail.

    1 tbsp olive oil to sauté the onions, garlic, and spinach
    1 tbsp olive oil in cholent mix
    1 8oz assortment of beans (kidney, black, and chickpeas)
    1/4 cup barley
    1 small can diced tomatoes / dice your own
    1 chopped onion, or if you want to get crazy, a shallot
    1 clove of garlic
    Dried spinach
    Equivalent of 1 or 2 dried potatoes
    1 tsp paprika
    1 tsp cumin
    Cayenne to taste
    1 bay leaf
    1 Knorr Vegetable Bouillon cube
    Mrs. Dash to taste
    FOR FLEISHIG: Add dehydrated meat or jerkey to taste

    I soak all of my dry ingredients (beans, barley, potatoes) in a Nalgene bottle at the start of my Friday hike, though if you start later than 8, I can’t promise anything but chewy ingredients. Since I don’t do meat, it works a little easier. I start the day with enough mixed bouillon so that I don’t have to add water later – but sometimes I have to adjust.

    I heat up a small skillet with 1 tbsp of olive oil, and sauté the onions, garlic, and spinach, and a little Mrs. Dash.

    In my larger pot, I dump my soaked mix, along with olive oil and diced tomatoes and the remainder of the ingredients that weren’t sautéed. Season with the paprika, cumin, and cayenne. Once that’s mixed, add your onions, garlic, and spinach.

    I bring it to a boil and then let it simmer for 10 minutes, otherwise we’re just wasting food.

    Is it awesome? No, but it’s always been “close enough” for the trail.

    Trail Teiglach

    Someben / CC BY-SA (https://creativecommons.org/licenses/by-sa/3.0)

    A Litvak Rosh Hashanah favorite, this recipe requires you prep the dough at home ahead of time. It’s worth it, however, if you plan a hike during the Days of Awe! Call the kids to chow with the shofar, it’s dessert time!

    Prep & Cook: 30 minutes (plus home)
    Serves: 2-3
    Parve

    Ingredients for Dough:
    3 eggs
    3 tbsp oil
    1 tsp kosher salt
    2 cups flour
    1 tsp baking powder

    AT HOME:

    1. Beat the eggs gently with oil and salt. Mix in 1 cup of flour and all of the baking powder. As you mix, slowly add the remaining flour, until the dough is soft. If you still have flour left over, you can still safely stop once the dough is pliable.
    2. Knead dough until it is smooth, and cover for 10-15 minutes.
    3. Roll out the dough and cut into small pieces. You can either cut into shapes or roll the cut pieces of dough into little balls.
    4. You can fry or bake the dough. For frying, drop the dough pieces into oil until they puff up and turn golden. To bake, grease a cookie sheet, spread them out, and bake at 375º for 15 – 20 minutes, or until they are golden brown.

    ON THE TRAIL:

    1 cup dried fruit and nuts
    1/4 cup sugar
    3/4 cup honey (or a mess of honey packets)
    1/4 tsp ginger
    1/4 tsp kosher salt

    1. Place honey, sugar, ginger into a pot and bring to a boil, then reduce to simmer for 10 minutes.
    2. Add in the dough and dried fruit and nuts and stir until your mixture coats everything, and cook for another 10 minutes.
    3. Cool for another 10 minutes.

    More Recipes?

    If you have additional Ashkenazi recipes that you’ve perfected for the trail, or variations on the recipes here, please feel free to add them in the comment sections.

    Stay tuned for our next in this series, which will cover Sephardic backpacking recpies!

  • Kosher Dehydration How-To

    Kosher Dehydration How-To

    Here we present a set of instructions for dehydrating popular food staples for use in your recipes.

    The cost of pre-dehydrated foods is high. For the wilderness enthusiast concerned with kashrut, the availability of certified foods is a problem.

    Kosher dehydration requires that you use certified kosher ingredients, especially meat. You should use separate trays for meat and dairy, and ensure you clean your dehydrator thoroughly between each use if you do switch between milchig and fleishig.

    Dehydrating Meat

    Dehydrating meat

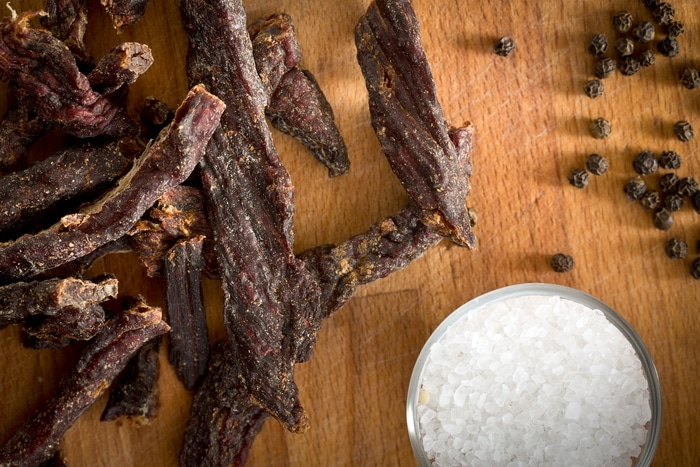
    Dried meat is a valuable trail staple. It’s light, rich in protein, iron, zinc, magnesium, and vitamins B and E.

    You can dry just about any kosher meat, raw or canned. You’ll want to use the leanest meat possible.

    NOTE: If you use a dehydrator, please ensure that you either have fleishig-designated trays, or that the whole dehydrator is fleishig.

    1. Cook your meat. Steam, pressure cook, simmer, whatever. During the dehydration process, harmful bacterias will usually not be destroyed.
    2. Slice, grind, or cube your meat. Obviously, it will dehydrate the fastest with ground meat.
    3. In your oven or dehydrator, spread your meat over trays and, using 140˚ F temps, dry for six hours. Lower your temperature by 10 degrees and continue drying until hard, this time with the door of your oven slightly open.

    Rehydrating your meat can vary. Unlike other dried foods, like beans, rehydrating meat should be soaked with hot water, never cold. It’s been a long time since I’ve eaten meat on the trail, but my practice was to boil my meat and water in a covered pot. Full rolling boil, and then let it soak for a half hour.

    Dehydrating Tuna

    Solid white tuna packed in water works best. As with meat, you’ll want to avoid fatty tuna cuts.

    1. Drain the tuna.
    2. In pieces, spread on small layer of oven or dehydrator tray.
    3. Dehydrate at 140-145˚ until it’s crispy.

    This is going to stink, by the way.

    Dehydrating Salmon

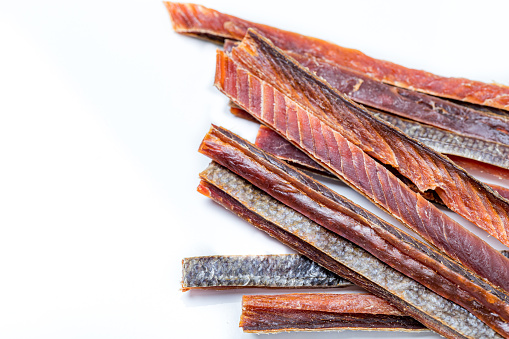
    Salmon Jerky
    salmon jerky on white background

    This is a skill I picked up while stationed in Alaska. I could fish right on our post for all the runs—King, silver, and sockeye—and I’d make salmon jerky out of whatever I wouldn’t eat of my limit.

    1. Make a kosher salt brine. I like a recipe that calls for 1T kosher salt, 1T molasses, 1T lemon juice, 2t black pepper, and maybe some liquid smoke (1t).
    2. Using 1/4-inch thick slices of salmon, I marinade them in a freezer bag in the fridge for 4 hours.
    3. After straining the salmon, I pat them dry, and then commence the dehydration in my oven or dehydrator at 145˚ for 3-4 hours. We’re aiming for chewy, not crunchy

    Dehydrating Fruits and Veggies

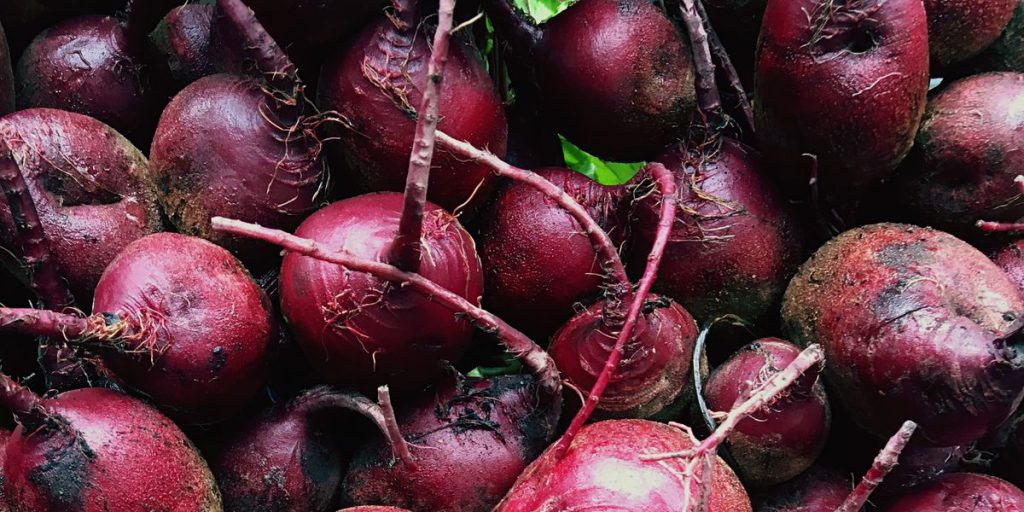
    Beets

    This is perhaps the easiest and least risky.

    1. Wash, peel, core, slice, or shred (especially for beets).
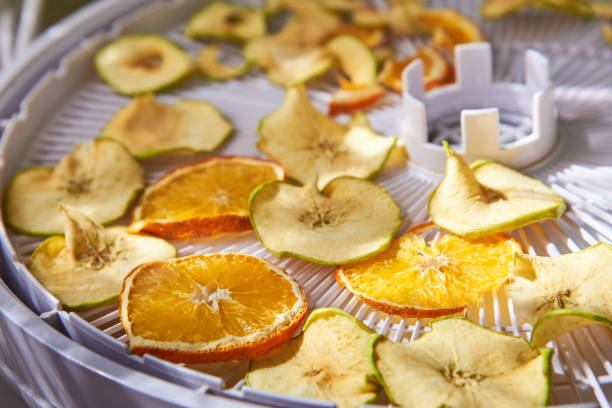
    2. Fruits and some vegetables will brown, so it’s worth dipping them in lemon juice ahead of time.
    3. Broccoli, cauliflower, green beans, asparagus, pumpkin, and again beets should be roasted or steamed prior to drying. Canned veggies and fruits should be completely drained ahead of time. It’s worth noting frozen veggies and fruit don’t need the pre-treatment.
    4. Spread these on your trays or dehydrator trays covered with non-stick sheets in a single layer.
    5. Veggies I dehydrate at 130˚, fruits at 135˚. Drying times will vary, especially between fruits and veggies.

    Dehydrating Beans

    Dried beans (black, red, kidney, lentils, etc) do not dehydrate well. Canned beans do not require you to cook them first, and typically rehydrate a little easier. Drain them, and dehydrate them on a sheet in the oven or in your dehydrator at 125˚ for 6-8 hours. The beans will actually split open when they are dried, which will help with rehydration.

  • Tasty Bite: Kosher, Vegetarian, Trail Perfect Brand

    Tasty Bite: Kosher, Vegetarian, Trail Perfect Brand

    I couldn’t have done the John Muir Trail without Tasty Bite.

    I’ve done long hikes with nothing but Tradition Soup, canned salmon, and tuna packets, and that’s no way to live in the outdoors. I do like to prepare my own recipes and cook by camp stove, don’t get me wrong, but on those grueling forced marches where I will be on the trail for days at a time, ingredients are often heavy.

    When I realized that Tasty Bites, often found in our “ethnic food” section adjacent to the kosher food at our supermarket, bears a hechsher, I realized the choices are limitless.

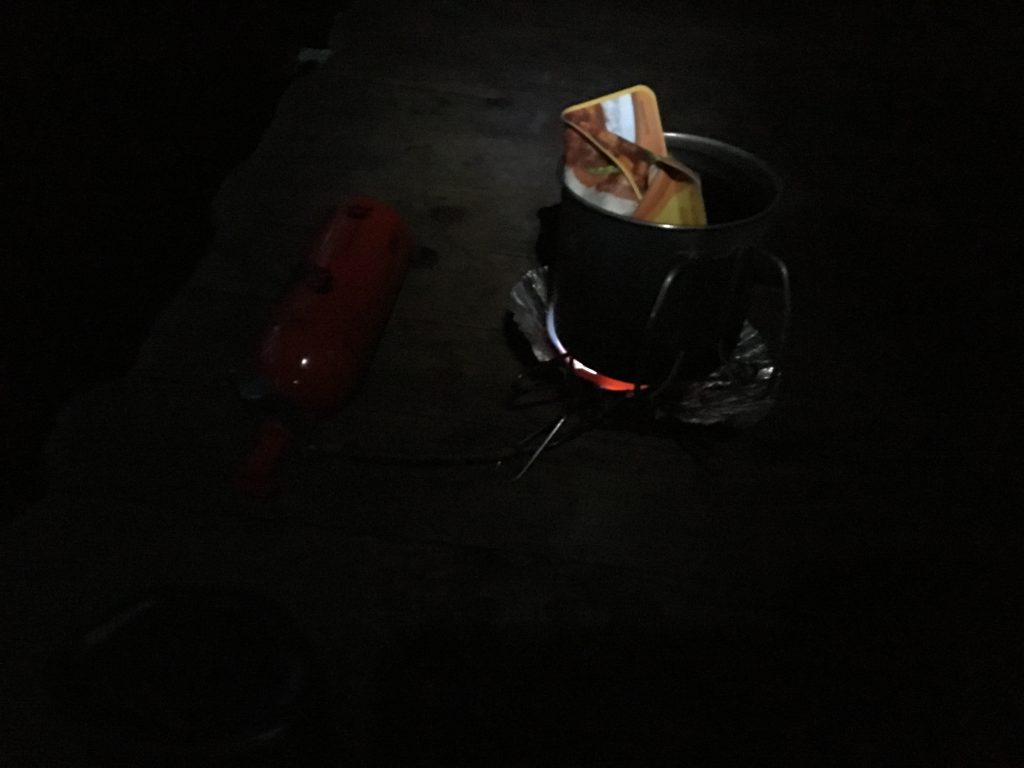
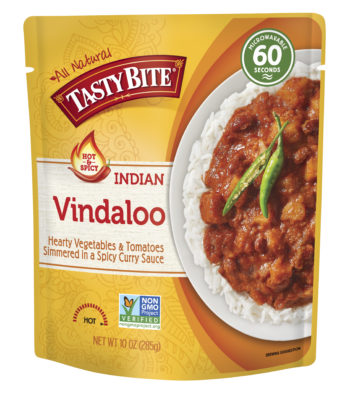
    I tried the vindaloo on a recent weekend hike in Maine’s 100 Mile Wilderness, and I was not disappointed, though I wish I had brought more antacids.

    Heating vindaloo on the AT in Maine

    Do you have any other favored backpacking foods that are surprisingly and delightfully kosher? Share in the comments, or with us on Twitter or Facebook.

  • Vegetarian Matzah Brei

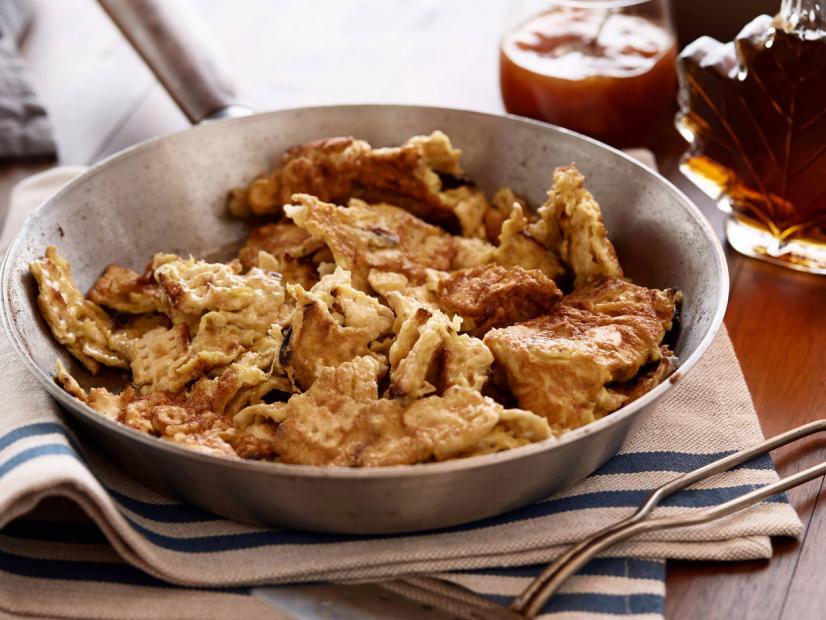
    Vegetarian Matzah Brei

    Prep & Cook: 7m
    Serves: 4
    Contains: Wheat, Eggs

    Ingredients

    • 4 or 2 pieces matzah
    • 1/2 or 1/4 cup water
    • 4 or 2 eggs
    • Salt and pepper to taste
    • 2 or 1 tbsp butter
    • 2 or 1 tbsp KforP veggie oil / olive oil

    Directions

    In your pan/lid, break the matzah into small pieces. You may want to halve this recipe for smaller rigs. Bring water to a boil, and pour it over the matzah pieces. Quickly toss the matzah (this has to be fast especially on Pesach), and drain the excess water.

    Perhaps ahead of time, beat the eggs with your spork, and then mix that, the peper, and the eggs into your matzah. Put your stove on hot (depending on how it adjusts), heat the butter and oil, and then add the matzah and fry until it’s crispy.

    On the trail, I like to serve it with tiny syrup packets (if I can find pure maple because of kitniyot), or even OU-certified jam packages.

  • Easy Camp Stove Salmon Patties

    Easy Camp Stove Salmon Patties

    Prep & Cook: 20m
    Serves: One or Two
    Contains: Wheat, Eggs

    Ingredients (parve)

    • 1 slice bread or 1 matzah
    • 1/2 cup pretzels or Osem Gluten Free Pretzel Thins during Passover (Ochlei Kitniyot only)
    • 1/2 tsp Mrs. Dash
    • 1 egg equivalent Bob’s Red Mill Vegan Egg Replacer or Vegetarian Egg Replacer
    • 1 6 oz can salmon
    • 1 tbs dried minced onion
    • 1/2 tbs air dried jalapeno pepper here
    • 1/2 tbs garlic powder
    • 1 tbs oil

    Prep

    Combine bread, pretzels, and seasonings and chop as fine as possible.

    Combine egg, salmon, onion, jalapeno, garlic powder, and half of the crumb mix. Shape into camp frying pan compatible patties, as many as you need, and coat with remaining crumbs.

    Cook each patty four minutes on each side or until brown.