Here we present a set of instructions for dehydrating popular food staples for use in your recipes.
The cost of pre-dehydrated foods is high. For the wilderness enthusiast concerned with kashrut, the availability of certified foods is a problem.
Kosher dehydration requires that you use certified kosher ingredients, especially meat. You should use separate trays for meat and dairy, and ensure you clean your dehydrator thoroughly between each use if you do switch between milchig and fleishig.
Dehydrating Meat
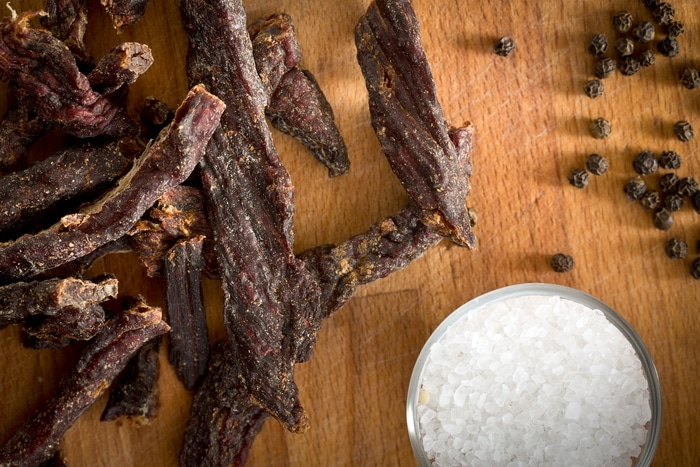
Dried meat is a valuable trail staple. It’s light, rich in protein, iron, zinc, magnesium, and vitamins B and E.
You can dry just about any kosher meat, raw or canned. You’ll want to use the leanest meat possible.
NOTE: If you use a dehydrator, please ensure that you either have fleishig-designated trays, or that the whole dehydrator is fleishig.
- Cook your meat. Steam, pressure cook, simmer, whatever. During the dehydration process, harmful bacterias will usually not be destroyed.
- Slice, grind, or cube your meat. Obviously, it will dehydrate the fastest with ground meat.
- In your oven or dehydrator, spread your meat over trays and, using 140˚ F temps, dry for six hours. Lower your temperature by 10 degrees and continue drying until hard, this time with the door of your oven slightly open.
Rehydrating your meat can vary. Unlike other dried foods, like beans, rehydrating meat should be soaked with hot water, never cold. It’s been a long time since I’ve eaten meat on the trail, but my practice was to boil my meat and water in a covered pot. Full rolling boil, and then let it soak for a half hour.
Dehydrating Tuna
Solid white tuna packed in water works best. As with meat, you’ll want to avoid fatty tuna cuts.
- Drain the tuna.
- In pieces, spread on small layer of oven or dehydrator tray.
- Dehydrate at 140-145˚ until it’s crispy.
This is going to stink, by the way.
Dehydrating Salmon
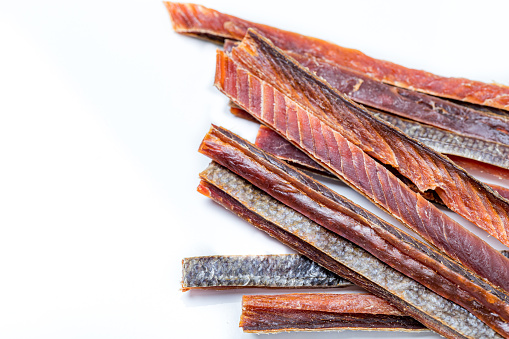
This is a skill I picked up while stationed in Alaska. I could fish right on our post for all the runs—King, silver, and sockeye—and I’d make salmon jerky out of whatever I wouldn’t eat of my limit.
- Make a kosher salt brine. I like a recipe that calls for 1T kosher salt, 1T molasses, 1T lemon juice, 2t black pepper, and maybe some liquid smoke (1t).
- Using 1/4-inch thick slices of salmon, I marinade them in a freezer bag in the fridge for 4 hours.
- After straining the salmon, I pat them dry, and then commence the dehydration in my oven or dehydrator at 145˚ for 3-4 hours. We’re aiming for chewy, not crunchy
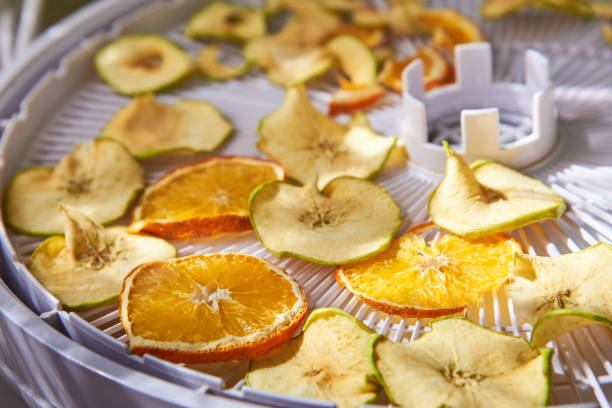
Dehydrating Fruits and Veggies
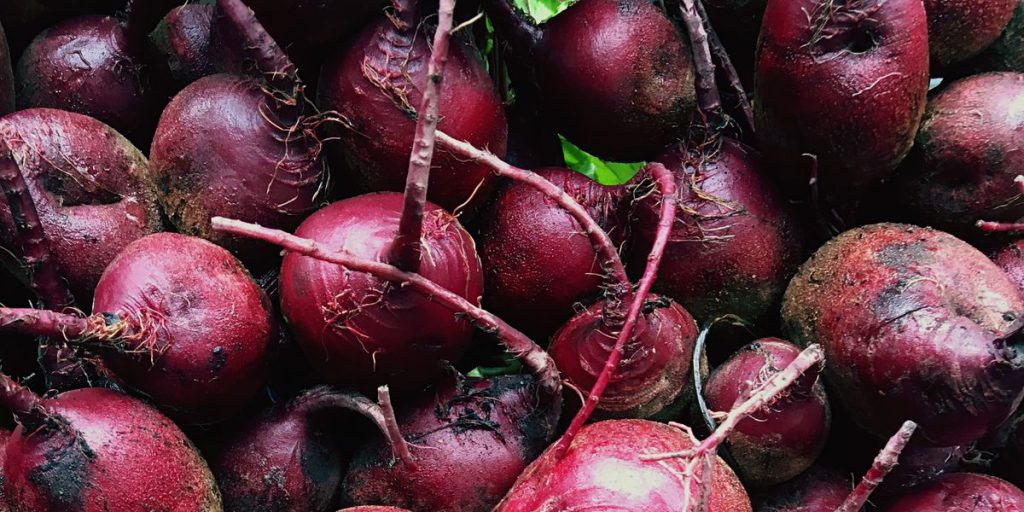
This is perhaps the easiest and least risky.
- Wash, peel, core, slice, or shred (especially for beets).
- Fruits and some vegetables will brown, so it’s worth dipping them in lemon juice ahead of time.
- Broccoli, cauliflower, green beans, asparagus, pumpkin, and again beets should be roasted or steamed prior to drying. Canned veggies and fruits should be completely drained ahead of time. It’s worth noting frozen veggies and fruit don’t need the pre-treatment.
- Spread these on your trays or dehydrator trays covered with non-stick sheets in a single layer.
- Veggies I dehydrate at 130˚, fruits at 135˚. Drying times will vary, especially between fruits and veggies.
Dehydrating Beans
Dried beans (black, red, kidney, lentils, etc) do not dehydrate well. Canned beans do not require you to cook them first, and typically rehydrate a little easier. Drain them, and dehydrate them on a sheet in the oven or in your dehydrator at 125˚ for 6-8 hours. The beans will actually split open when they are dried, which will help with rehydration.
Last modified: August 17, 2020