EDITOR’S NOTE: This article was started well before the tragic drowning and ensuing images of the father and daughter who perished crossing the Rio Grande. We will translate this article into Spanish as well, as information herein can be used to help safely cross rivers. We do not intend any insensitivity to the humanitarian crisis at our southern border, and as Jews, our concerns lie with treating the stranger in our land with dignity and decency.
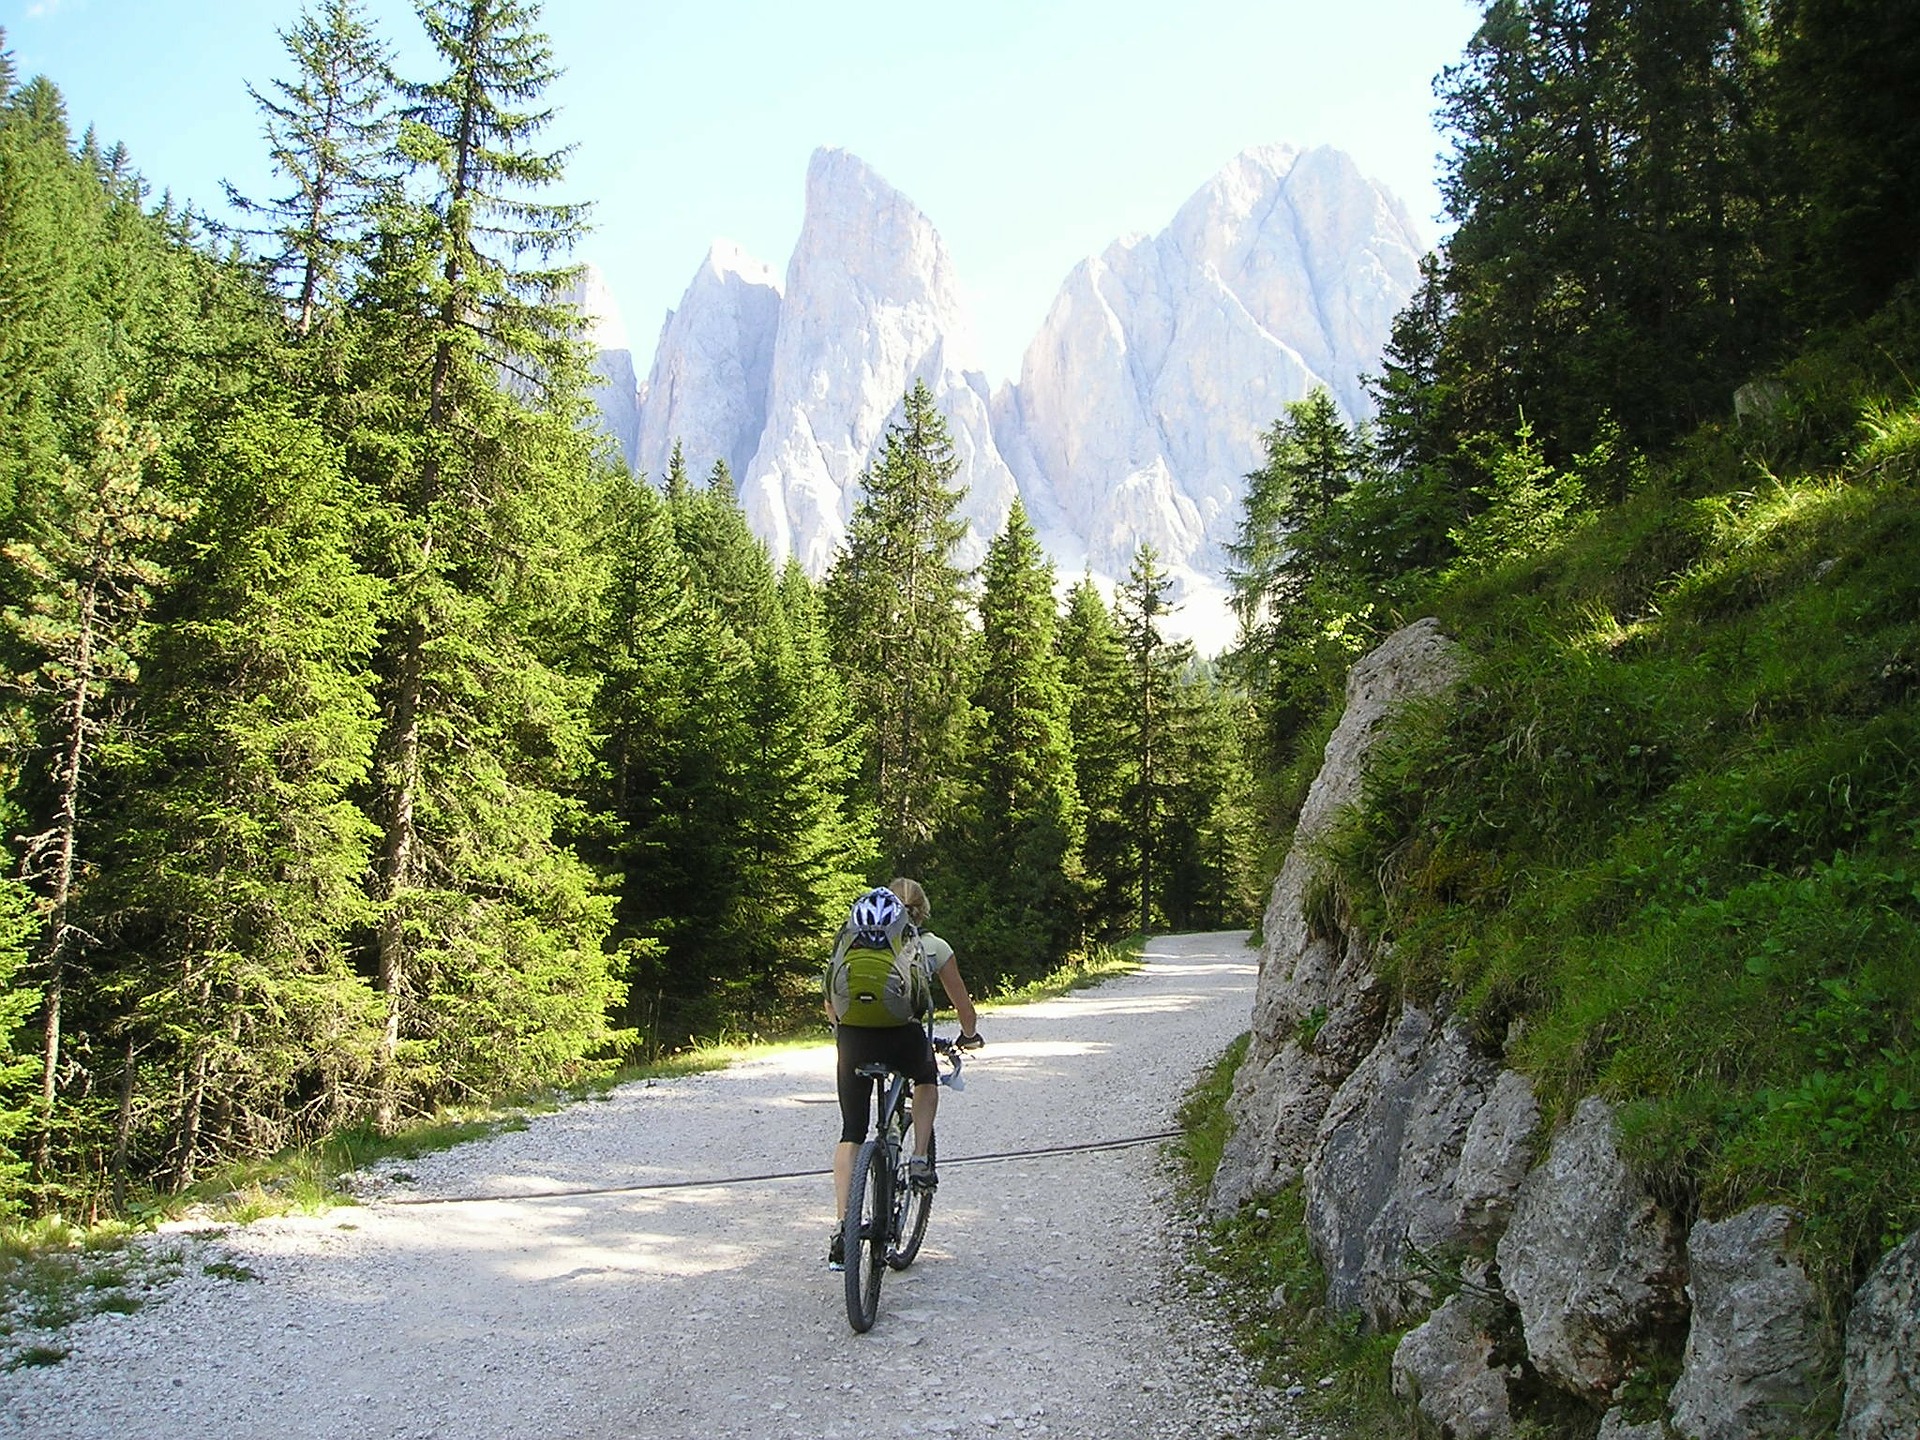
After a recent long hike in Maine’s 100 Mile Wilderness, I was confronted with my first serious set of river and stream crossings in many years. Indeed, not since crossing the glacier-fed, braided rivers of Alaska’s hinterlands have I been so challenged by moving water.
We had a late-lingering winter in Maine this year, coupled with a relatively wet spring, and so water levels as I crossed the Pleasant River into the Gulf Hagas area a few weeks ago were almost thigh-high.
On a stream crossing approaching the Carl A. Newhall Lean-To, I slipped on a rock and took a mighty, soggy dunk, which as we know in 50 degree weather, can bring hypothermia and death to the untrained traveller.
I am not, however, an untrained traveller. I went to two mountaineering courses while stationed in Alaska, and would be classified as an “assault climber.” Further, I have many experiences in deep wilderness and mountainous terrain with river crossings. It’s just a decade or two stale, I write with a chuckle.
Crossing Site Selection
On East Coast trails (ahem, Maine), site selection isn’t particularly necessary, as trails will generally take you to the spot determined by trail planners to be the best crossing. It doesn’t hurt to look, of course, as conditions can change, depending on nature and frequency of trail maintenance.
A dry crossing is always the best. In western or northern areas, the closer you are to the end of winter, the more likely you can find icy or snow-covered crossings. Fallen trees or log jams can also be used for a dry crossing.
If that’s not possible, it’s decision time. First, time of day should be considered. Early morning can be the best for a variety of reasons, except for after heavy rains. Water levels are usually lower, and you have the rest of the day for things to dry after the crossing.
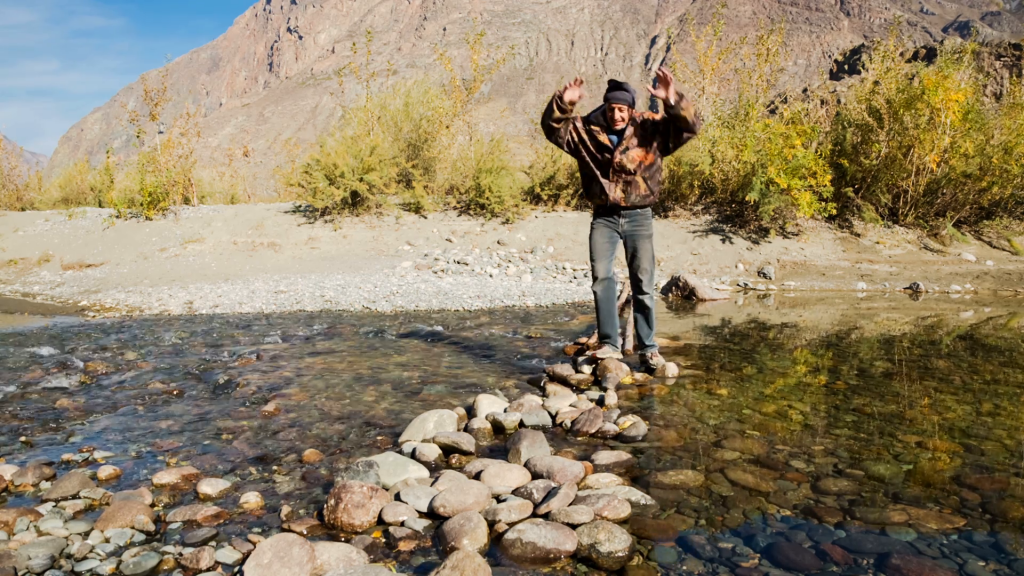
As far as where to cross, the widest point is usually the most shallow point of a river or stream. You should avoid bends, as the water is usually deep and will have a strong current on the outside of the bend.
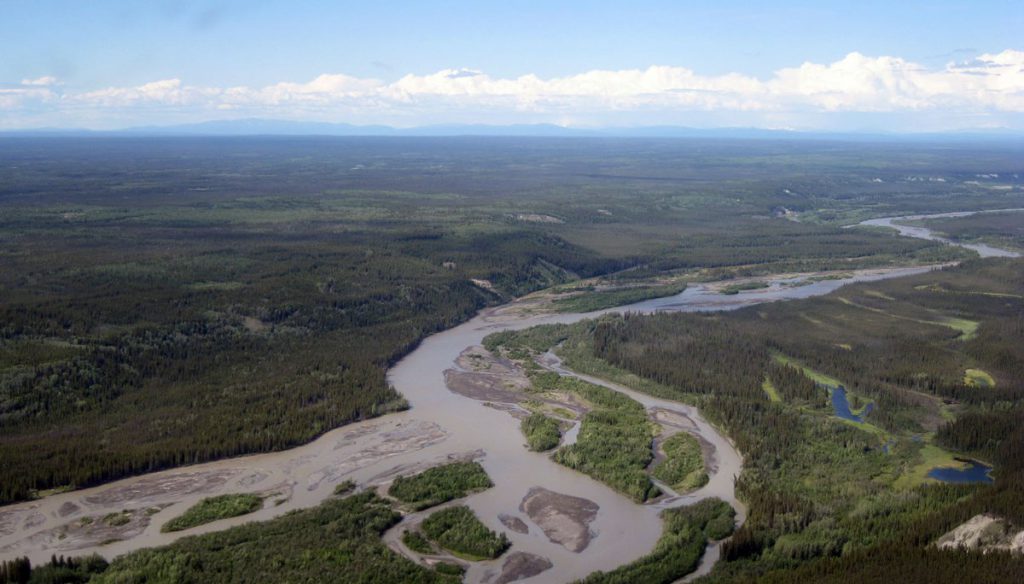
Mountain rivers, especially ones fed by glaciers, will often be braided with numerous channels. These are often an ideal spot to cross rivers. When I did a multi-week backcountry excursion in Wrangell-St.Elias National Park, this was de rigueur. When we took an excursion up the Savage River in Denali National Park, we mostly walked the gravel bars of the river for ease of walking.
When you do select a site, look for one where you can easily get in or out of the river. Low banks that one can walk into and out of are preferred to a climb in and out of the water.
Preparing Gear and Clothing for Crossings
Waterproof all the things! In this day and age, hikers are carrying far more electronics than ever, and those must be waterproofed. Generally, I keep my entire backpack inventory inside a waterproof, sealed bag inside my backpack.
A lot of people cover these things, but I’ve learned some additional things from military water crossings. If you are wearing pants with cargo pockets, button those or zipper those up. Pockets fill up with water and can weigh you down, and in swift currents, and minimizing that can make an astounding difference.
DON’T WEAR FLIP-FLOPS or OTHER SLIP ON SANDALS. This goes for “crocs,” too. In mild crossings, they may be fine, but in strong currents, they can be sucked right off of your feet, leaving you to walk barefoot on possibly sharp shoes.
I don’t take chances. I take my socks off and inner soles out of my boots, and wear the boots for the crossing. I get the greatest purchase on slippery rocks this way, and I don’t have to worry about a bleeding wound or just stubbing my toe.
Unbuckle the waist and chest straps on your backpack. If you go under, you’re going to want to shed that quickly, lest it drag you down and drown you.
Crossing By Yourself
As an avid solo-hiker, this has been the bulk of my experience.
You should face upstream, slightly sideways. Lean a little bit into the current, which will help you maintain balance. Sometimes, depending on the strength of the current, you may even want to turn sideways, because you’ll be pushed less.
Shuffle your feet along the bottom. Put your downstream foot in the lead. If the water is really cold and the current strong, you may have a temptation to rush, but you’ll want to be slow and deliberate. In Maine, I’ve discovered, the rocks beneath you are often slimy, and it’s very easy to lose balance and fall. With your lead foot, you should also be probing for bigger rocks, holes, downed branches, etc. If you find one, you should try and move around it on the upstream side, as especially in the case of rocks, the turbulence won’t be as significant as it will be on the downstream side.
When possible, you should cross at a downstream angle. Otherwise, you end up fighting the current more than you need to.
This is a strong argument for trekking poles. In recent years, since moving to hammock camping, I’m less inclined to carry trekking poles, but for water crossings, they are very helpful. Put your pole (or a downed branch, never cut a live one) on the upstream side of you, and leaned upon for support. Move the staff first, then slowly shuffle your feet towards it.
Crossing with Others
Sometimes, a swift river calls for friends. When the river is thigh deep or higher, or the current is heavy, linking arms and taking a go is the best way short of finding another route or crossing.
The largest person should be positioned on the upstream end of the line, with arms interconnected. The group should then cross parallel to the direction of the current, but still at a slight downstream angle. The individual movements are similar to the individual crossing techniques.
It is advisable to put your poles away, unless you are on the ends of the line.
Crossing with Ropes
I would note that it is possible to set up a crossing for others with a rope or ropes, but I strongly discourage it. For backcountry or even major trail travel, if the current is so swift, and there is no permanent fixture, either bridge or wires, it is simply too hazardous a location for crossing.
Swimming Across
Don’t, especially solo. You can certainly float your pack and doggie paddle across, but it’s a terrible idea if you aren’t in a group. Depending on the season or the temperatures, hypothermia becomes a very real concern. I always keep a dry set of things (or at least not too damp) to change into after crossings. I took a dunk on my last trip in the 100 Mile Wilderness in a deluge-swollen creak, and if I hadn’t immediately changed out of soaked clothing, I could have lost too much heat to safely continue.
If you are a solo hiker, please do know everything you can about self-rescue, and how to warm yourself up in case things go sideways.
Last modified: June 28, 2019